All Categories
Featured
Table of Contents
- – Motorhome Refrigerator Repair Orange County, CA
- – OCRV Center
- – Motorhome Service And Repair Near Me Orange Co...
- – Rv Repair Service Near Me Orange County, CA
- – Rv Repairs Near Me Orange County, CA
- – Rv Mechanics Near Me Orange County, CA
- – Rv Delamination Repair Near Me Orange County...
- – Rv Mechanics Near Me Orange County, CA
- – Rv Repair Places Near Me Orange County, CA
- – Full Service Rv Repair Near Me Orange County...
- – Motorhome Repair Service Orange County, CA
- – Motorhome Repair Near Me Orange County, CA
- – Rv Mechanics Near Me Orange County, CA
- – Rv Delamination Repair Near Me Orange County...
- – OCRV Center
Motorhome Refrigerator Repair Orange County, CA
Stick to a scheduled maintenance plan and address any problems promptly to prevent complications throughout traveling. Whether you're triggering on your following adventure or simply returning from one, call us at 704-257-6420 - Best Rv Repair Near Me Orange County. Our group will more than happy to answer any concerns you might have and arrange a consultation at your comfort
Uh oh! Page not discovered! Sorry the web page you are seeking might have been relocated or removed. Please click anywhere to continue surfing our site.
Motorhome Service And Repair Near Me Orange County, CA
Whether you require something as straightforward as a new set of tires or you're experiencing a trouble that you can't fairly identify, our experienced solution group will certainly obtain the job done effectively yet efficiently. You'll have the ability to venture out on the roadway as quickly as possible. Looking after a RV is dramatically different than taking care of a vehicle.

Just how frequently you service your motor home depends largely on exactly how typically you use it. If you use your RV or trailer regularly, it's risk-free to have it inspected out every 3,000 miles. If you're a seasonal recreational vehicle user, you'll desire to have actually whatever looked into when every six months, particularly after the RV has actually been stored for an extended period of time.
Tighten lug nuts before you triggered when traveling in your RV. Maintain a close eye on the tire stress of your motor home or trailer. Check the battery and water supply of your recreational vehicle prior to every usage. No, Motor homes and trailers can not be serviced at any kind of solution. It's best to have your motor home or trailer looked at by a group of experts that specialize in recreational vehicle upkeep and fixings.
Rv Repair Service Near Me Orange County, CA
We use the very same high-quality parts that your motor home was originally constructed with to guarantee that it preserves its efficiency and the investment you made in it. The exact same high-quality components and accessories that we utilize in our solution facility are also offered for acquisition via our components division. If you want to take the reins for a do it yourself solution job, we have you covered.
We understand that accidents happen. If you're involved in a crash with your motor home or trailer, you can rely on our specific solution team. In our collision center, we're equipped to deal with damages and problems big and tiny. We also supply towing and rental car help to make the process as streamlined as feasible.
Motorhome damage is never enjoyable, but search the intense sideyou have actually a certified RV repair work store near Columbia that keeps an eye out for your benefits. You may not reside in the location, yet LF Vehicle Repair work still desires to make you among our happy consumers. As a second-generation family organization, our track record indicates every little thing to us.
Rv Repairs Near Me Orange County, CA
Senior citizen Ford specializes in neighborhood motorhome and RV fixing and service. There is a factor recreational vehicle and motorhome dealerships in position like Warren, Auburn Hills, Mt. Clemens and Brighton send their customers to Senior citizen Ford for any kind of needed repair work to their Ford framework and solution. Below in Troy, we have actually the called for on-site upkeep devices and capability to handle recreational vehicle or motorhome repairs that a neighborhood car fixing shops or an auto dealer simply can not take care of.
Permit us to fret concerning your motorhome or recreational vehicle, so you will certainly not have to worry!.
Rv Mechanics Near Me Orange County, CA
If there is a malfunction, you can choose your repair work place. Call us today for a tailored quote. * Costs showed based on an average monthly repayment amount for present travel trailer policies January with June 2021.
That convenience comes with intricacy. From engine and electrical systems to plumbing, sliders, and awnings, your RV integrates a truck's auto mechanics with a small house's systems.
Rv Delamination Repair Near Me Orange County, CA
Before logging miles on the highway, ensure your RV's powertrain is in top shape. This consists of fluid checks, belts and hose inspections, and assessments for leakages or unusual sounds. Whether you're running gas or diesel, long runs demand a well-kept system. Inside lights, electrical outlets, refrigerator, and A/C all depend on your RV's electrical health and wellness.
Tire pressure, placement, brake pads, and suspension all lose in time. A heavy rig indicates longer stopping ranges, so risk-free stopping and well-kept wheels are non-negotiable for safe summer season travel. If ignored, these comfort features can come to be migraines. Look for appropriate slider procedure, roof covering sealer problems, and awning stability to stay clear of leaks, jams, or structural damage.
Rv Mechanics Near Me Orange County, CA
Whether you're obtaining ready for the period or require an examination mid-trip, we're here to assist you stay road-ready. Summer isn't the time for shocks on the road.
High quality, value, and development are the core worths that have been a component of the Gulf Stream Train means of working since it was started in Nappanee, Indiana, by Jim Shea and his sons. Today Gulf Stream Train is the industry's leading family-owned, family-operated recreational vehicle maker, includes 22 brand names with over 140 different models all gave you by the most specialized and seasoned group of partners in the market.
Making use of residential-style studs, spun fiberglass insulation, and light weight aluminum house siding for classic sturdiness and economic climate, in sizes from 20 ft. to 41 ft., our Key Line trailers are for committed RVers that recognize what they desire and acknowledge high quality. Ideal for first-timers, value-oriented, and casual campers, incorporating economical prices with tough yet light-weight go-anywhere building and construction.
Rv Repair Places Near Me Orange County, CA
nuCamp has been making teardrop trailers and small campers since 2004, which puts us ahead of the small living fad. Now is the excellent time to update from camping tent outdoor camping. Our tiny trailers, small campers, and pick-up truck campers are created to go off the grid, permitting you to discover off the beaten track and take the roadway less taken a trip.
Influenced by European impacts, our campers feature a modern appearance that will catch everyone's eye. These little, small campers let you bring the comforts of home when traveling without endangering on top quality. nuCamp's creator, Joe Mullet, has actually passionately cultivated a society of genuine look after both our staff member and the campers we craft for our treasured consumers.
Our dedicated team participants take wonderful pride in supporting honesty and pressing the boundaries of innovative style. Every one of our campers is thoroughly handcrafted at our advanced manufacturing center in Sugarcreek, Ohio. Quality and customer complete satisfaction are not simply top priorities, they are the essence of our work. Our unwavering goal is to produce remarkable Recreational vehicles for our extraordinary clients.
Full Service Rv Repair Near Me Orange County, CA
My family members and I have been traveling for the past 3 weeks in the RV. We have actually had terrible good luck up till this point with our Motor home. Needless to claim, several tows and solution fixing job.
The quality, interaction, and rate was simply what we needed! Thank you to all who aided!.
Motorhome Repair Service Orange County, CA
Gives even more adaptability with accessibility to a smaller sized, secondary car for discovering and much more home. Provides the best rent-and-go choice and allows for simplicity when it involves establishing camp, simply shift the RV into park.
Make certain to look us up during your trips up and down the eastern coastline while your having a blast camping and seeing the websites. We are easily situated simply over 30 miles west of the Chesapeake Bay and we more than happy to be of solution (Best Rv Repair Near Me Orange County). Our Solution Location in Maryland Consists Of: Waldorf St
Getting you into your new Course An Electric motor Train while making it a smooth procedure is always our number # 1 goal. Use our motor home Finder device to discover the nearest Motorhome Supplier that markets Fleetwood Recreational vehicles near you. Locate local electric motor train dealerships, get in touch with details & instructions to the storage room car dealership.
And also, you can find motor home solution specials that can assist you conserve! Our professional accredited specialists will certainly take excellent care of your motor home and have you back on the road. We are the leading headquarters for RV Service and Fixing in the Mid-Atlantic location. View Tips Positioned completely on North DuPont Highway near I-495, our solution center offers: Strategic highway availability Full overnight holiday accommodations 50 Amp electric connections Large service bays Easy in-and-out gain access to Convenient waiting locations Our solution facility supplies: Comprehensive warranty solution Extended coverage options System protection plans Part service warranties After-market support Change your motor home with: Power system upgrades Environment control innovation Suspension enhancements Entertainment system integration Security feature enhancements Gain access to our total parts inventory including: Authentic OEM elements Performance upgrades Safety and security equipment Convenience improvements Technical devices Our devotion to excellence is reflected in our clients' experiences.
Below's what one completely satisfied client shared:"My experience at Bayshore Truck Center was one of the most favorable, specialist involvement I have actually had when handling my motor home. I acquired a new 2023 Holiday Rambler Undertaking motorhome from a supplier in Florida. On our drive home to Maryland we discovered the rig was leaning to the right and the air compressor was regularly biking.
Motorhome Repair Near Me Orange County, CA
Utilizing the FCCC 24/7 app I called Gaffney for assistance. I wrote a service request online and John Colagiovanni reacted to me within an hour.
We service and fixing most significant parts including LP Gas, electrical and plumbing parts. We are a fully certified and guaranteed repair shop approving insurance coverage and guarantee insurance claims. Involve the Northern Virginia RV specialist. We use the most effective top quality substitute parts to get you back when traveling safely and stylishly.
Rv Mechanics Near Me Orange County, CA
offers preventative maintenance for class A and C motorhomes. Trust fund our skilled technicians to fix any type of interior or outside system. Camp Ground Mobile Home Park Dealer (Pre-purchase Examination) On the Side of the Road Any Place You Might Be Within Our Service Location is another of our specializeds. Nothing is even worse than being on vacation and experiencing a malfunction.
Our objective is to offer the ideal Recreational vehicle services offered at inexpensive rates. Satisfied to introduce we now provide Recreational vehicle sales & consignment.
Rv Delamination Repair Near Me Orange County, CA
I will certainly make use of Recreational vehicle Repair Bear once again. They took the Motor home right in and serviced everything while I waited as assured.
OCRV Center
Address: 23281 La Palma Ave Yorba Linda, CA 92887Phone: (714) 909-1444
Email: art@ocrvcenter.com
OCRV Center
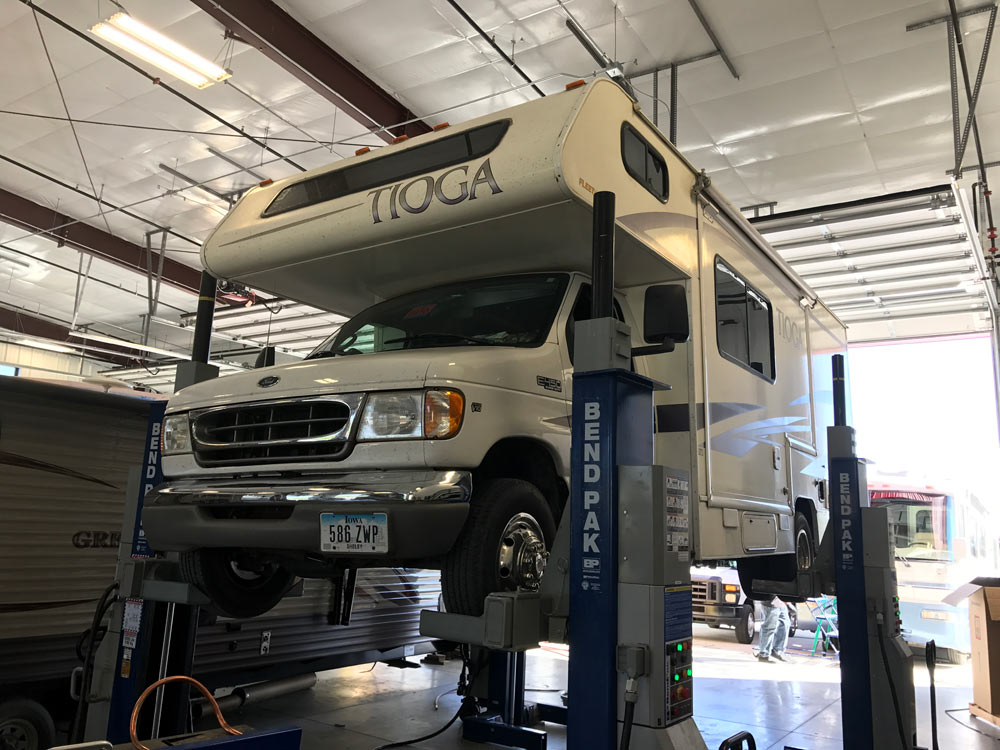
I will definitely be back for maintenance in the future. The heater in my old Toyota motorhome gave up on me. Not only did they make time within 48 hours to look at it and detect it, transforms out they had the old board in supply!
Rv Plumbing Repair Near Me Orange County, CARv Repair And Service Near Me Orange County, CA
Full Service Rv Repair Near Me Orange County, CA
Full Service Rv Repair Near Me Orange County, CA
Rv Ceiling Repair Orange County, CA
Rv Service And Repair Near Me Orange County, CA
Rv Repair Shops Near My Location Orange County, CA
Rv Refrigerator Repair Near Me Orange County, CA
Rv Repair Shops Near My Location Orange County, CA
Rv Repair Centers Near Me Orange County, CA
Rv Repair In My Area Orange County, CA
Rv Plumbing Repair Near Me Orange County, CA
Rv Mechanics Near Me Orange County, CA
Motorhome Generator Repair Near Me Orange County, CA
Rv Floor Repair Near Me Orange County, CA
Motorhome Repair Shop Orange County, CA
Rv Refrigerator Repair Near Me Orange County, CA
Rv Ceiling Repair Orange County, CA
Rv Repair And Service Near Me Orange County, CA
Motorhome Repair Shop Orange County, CA
Rv Repair Shops Near My Location Orange County, CA
Rv Repair Places Near Me Orange County, CA
Rv Repair Centers Near Me Orange County, CA
Rv Floor Repair Near Me Orange County, CA
Rv Repair In My Area Orange County, CA
Rv Repair Shops Near My Location Orange County, CA
Rv Repair Services Near Me Orange County, CA
Motorhome Repair Service Orange County, CA
Motorhome Awning Repair Orange County, CA
Rv Mechanics Near Me Orange County, CA
Motorhome Refrigerator Repair Orange County, CA
Rv Ceiling Repair Orange County, CA
Rv Generator Repair Orange County, CA
Rv Refrigerator Repair Near Me Orange County, CA
Rv Service Repair Near Me Orange County, CA
Rv Generator Repair Orange County, CA
Rv Service Repair Near Me Orange County, CA
Rv Repair Service Near Me Orange County, CA
Motorhome Repair Near Me Orange County, CA
Motorhome Generator Repair Near Me Orange County, CA
Rv Repair In My Area Orange County, CA
Rv Generator Repair Orange County, CA
Motorhome Repair Shop Orange County, CA
Motorhome Repair Shop Orange County, CA
Full Service Rv Repair Near Me Orange County, CA
Rv Delamination Repair Near Me Orange County, CA
Rv Ceiling Repair Orange County, CA
Motorhome Repair Shop Orange County, CA
Rv Repairs Near Me Orange County, CA
Rv Refrigerator Repair Near Me Orange County, CA
Rv Repair And Service Near Me Orange County, CA
Camper Ac Repair Near Me Orange County, CA
Rv Repair And Service Near Me Orange County, CA
Full Service Rv Repair Near Me Orange County, CA
Rv Solar Panel Installation Orange County, CA
Rv Delamination Repair Near Me Orange County, CA
Motorhome Repair Shops Orange County, CA
Rv Repair In My Area Orange County, CA
Motorhome Repair Near Me Orange County, CA
Rv Repair Centers Near Me Orange County, CA
Motorhome Repair Shop Orange County, CA
Motorhome Repair Near Me Orange County, CA
Full Service Rv Repair Near Me Orange County, CA
Rv Plumbing Repair Near Me Orange County, CA
Rv Repair Shops Near My Location Orange County, CA
Rv Service And Repair Near Me Orange County, CA
Rv Refrigerator Repair Near Me Orange County, CA
Rv Service And Repair Near Me Orange County, CA
Rv Repair In My Area Orange County, CA
Best Rv Repair Near Me Orange County, CA
Rv Mechanics Near Me Orange County, CA
Rv Delamination Repair Near Me Orange County, CA
Rv Solar Installation Orange County, CA
Motorhome Repair Near Me Orange County, CA
Rv Floor Repair Near Me Orange County, CA
Rv Repair And Service Near Me Orange County, CA
Best Rv Repair Near Me Orange County, CA
Motorhome Repair Near Me Orange County, CA
Around Me Seo Optimization Orange County, CA
Affordable Seo Expert Orange County, CA
OCRV Center
Table of Contents
- – Motorhome Refrigerator Repair Orange County, CA
- – OCRV Center
- – Motorhome Service And Repair Near Me Orange Co...
- – Rv Repair Service Near Me Orange County, CA
- – Rv Repairs Near Me Orange County, CA
- – Rv Mechanics Near Me Orange County, CA
- – Rv Delamination Repair Near Me Orange County...
- – Rv Mechanics Near Me Orange County, CA
- – Rv Repair Places Near Me Orange County, CA
- – Full Service Rv Repair Near Me Orange County...
- – Motorhome Repair Service Orange County, CA
- – Motorhome Repair Near Me Orange County, CA
- – Rv Mechanics Near Me Orange County, CA
- – Rv Delamination Repair Near Me Orange County...
- – OCRV Center
Latest Posts
Rv Rubber Roof Replacement Rowland Heights
Rv Carpet Installation Orange
Rv Refrigeration Repair Montclair
More
Latest Posts
Rv Rubber Roof Replacement Rowland Heights
Rv Carpet Installation Orange
Rv Refrigeration Repair Montclair